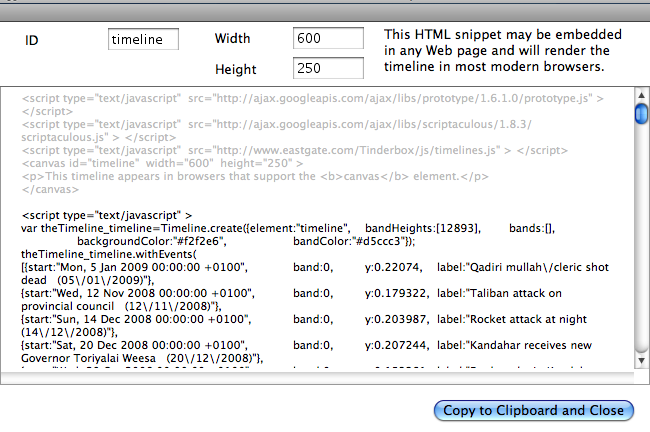
Added in v5.7.0, this dialog allows the user to export the existing timeline in HTML & JavaScript form for use in a web page. The code block is designed for simple copy/paste use. Click the button on the dialog and the code is pasted to the OS clipboard and the dialog closes.
Paste the code snippet into the body element of an HTML page, save and view the page in an HTML capable browser (any of the current crop of major browsers).
There are 3 boxes in the upper toolbar that can be user-altered and which interactively update the code the user can copy to their HTML page:
- ID. This is the 'id' attribute name of the <canvas> element inside which the timeline is drawn. The name given must conform to HTML/XML ID naming rules; i.e. it begins with a letter or underscore, and contains only letters, digits, and the underscore character. Default = "timeline".
- width. A number (greater than zero) being the width in pixels of the timeline on the resulting webpage. Default = 600 (pixels).
- height. A number (greater than zero) being the height in pixels of the timeline on the resulting webpage. Default = 250 (pixels).
Changing any of the above will update the code in the centre pane of the dialog.
Colouring of the code follows the example of the HTML view. Grey text is verbatim (from a built-in template) and black text is generated output via export code functions.
The event data within the exported code is exported in JSON format (a JavaScript-based syntax).